


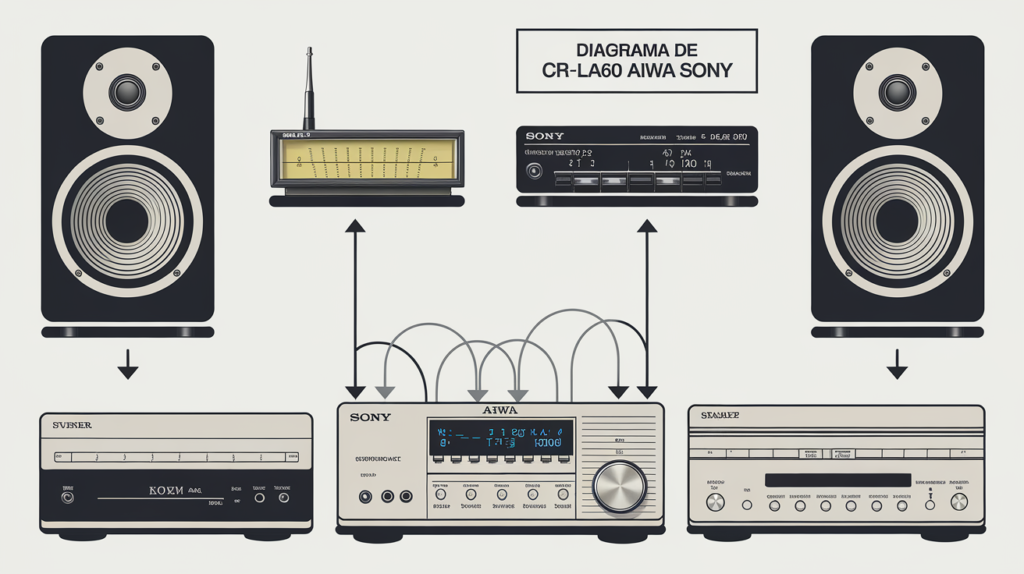
CR-LA60 Aiwa Diagrama Electrico is a must-have for anyone working with Aiwa electronics, whether you’re repairing or maintaining them. This clear and detailed diagram shows the internal wiring and connections of the CR-LA60 Aiwa Diagrama Electrico model, making it easier to understand and troubleshoot any issues. Whether you’re just starting out or have years of experience, this guide simplifies the repair process, helping you diagnose problems, swap out damaged components, and get your Aiwa devices back in working order. With its straightforward layout, this diagram makes working with Aiwa electronics more approachable for everyone, regardless of skill level.
What is the Aiwa CR-LA60 Electrical Diagram and Why is it Essential?
For everyone dealing with the CR-LA60 Aiwa Diagrama Electrico model, particularly those engaged in repair and maintenance, the electrical diagram is an essential tool. This figure offers a clear and well-organized perspective of the device’s structure by illuminating the internal electrical wiring and connections. It is intended to assist engineers, technicians, and electronics hobbyists with the diagnosis and repair of Aiwa devices.
The diagram provides newcomers with important information about the construction and operation of electronic equipment. For people who are learning about electronics, it is an instructional tool. By identifying specific places to inspect for problems, the CR-LA60 Aiwa Diagrama Electrico helps more seasoned experts expedite the repair process and ensure faster and more effective solutions.
Why is the CR-LA60 Aiwa Diagrama Electrico Crucial?
An electrical diagram is far more than a technical blueprint; it’s an essential resource for anyone looking to maintain, repair, or enhance their electronic devices. The Aiwa CR-LA60 Aiwa Diagrama Electrico is particularly valuable for users seeking to troubleshoot issues, perform repairs, and make upgrades. Here’s why it’s so crucial:
- Effective Troubleshooting: A well-detailed schematic simplifies identifying problems such as distorted sound, power failures, or unresponsive controls. It provides a clear path for users to quickly pinpoint where the issue lies, saving time and effort during diagnostics.
- Streamlined Repairs: The diagram aids in locating faulty components with precision, eliminating the need for guesswork. This helps both professional technicians and DIY enthusiasts to carry out repairs efficiently, reducing the time and complexity involved in fixing the device.
- Upgrades and Customization: For those looking to boost their system’s performance, the diagram serves as a helpful guide to adding new features, like Bluetooth integration or high-quality speakers. It ensures that the upgrades are done correctly without affecting the overall functionality of the device.
- Preventive Maintenance: By understanding the internal wiring and circuitry, users can spot potential issues—such as overheating components or signs of wear—before they escalate. This proactive approach can help avoid expensive repairs and increase the device’s lifespan.
For anyone who uses or maintains the CR-LA60 Aiwa Diagrama Electrico is an indispensable tool. It not only helps save on repair costs but also improves the device’s performance and ensures its longevity, making it an essential resource for both beginners and experienced users.
How the CR-LA60 Aiwa Diagrama Electrico Helps with Device Repairs
The CR-LA60 Aiwa Diagrama Electrico is an essential tool that simplifies the repair process and ensures accuracy. It provides a detailed view of the internal wiring and connections within the CR-LA60 Aiwa Diagrama Electrico, allowing users to understand how each part interacts with the others. This clarity helps technicians and hobbyists quickly identify the components that need attention.
By referring to the diagram, you can avoid common mistakes during repairs. Rather than relying on guesswork to determine which wires or parts to focus on, the diagram gives you a precise guide to pinpoint issues and guide your repairs. Here are a few tips for using the diagram effectively during repairs:
- Review the diagram before starting: Familiarize yourself with the layout of the device and its connections to prevent errors from the start.
- Label each wire and component: Clearly mark the parts to avoid confusion while working.
- Carefully compare old and new parts: Ensure the replacement components match the original ones to maintain the device’s performance.
Utilizing the CR-LA60 Aiwa Diagrama Electrico can streamline your repair process, reduce the likelihood of mistakes, and help you achieve more accurate, efficient repairs.
Step-by-Step Instructions for Understanding the CR-LA60 Aiwa Electrical Diagram
Begin by examining the power supply section of the diagram. Trace the flow from the power transformer to see how electricity enters and distributes to the primary circuits of the device. This provides an overview of the system’s energy flow.
Focus on Critical Pathways
Identify the main pathways leading to essential components, such as the amplifier and audio output sections. These areas are key to the device’s sound functionality and help establish a clear understanding of how signals travel.
Break the Diagram into Sections
Electrical diagrams are often divided into functional blocks, such as power regulation, audio amplification, and input controls. Analyzing one section at a time allows you to understand the purpose and operation of each block more effectively.
Familiarize Yourself with Symbols
Electrical diagrams use standardized symbols to represent components. For example:
- Resistors are shown as zigzag lines.
- Capacitors appear as parallel lines.
- Transistors are marked with arrows and lines.
Taking time to learn these symbols ensures you can quickly identify components and their roles within the circuit.
By following these steps, you can confidently interpret the CR-LA60 Aiwa diagram and better understand the device’s electrical system.
Common Problems and Fixes for the CR-LA60 Aiwa Electrical Diagram
The CR-LA60 Aiwa Electrical Diagram is an essential resource for diagnosing and resolving issues that may arise with the device over time. While the unit is built for durability, regular use or aging can lead to occasional malfunctions. Here’s how you can use the diagram effectively to troubleshoot common problems:
1. Power Issues
If the device fails to turn on, focus on the power supply section of the diagram. Check for potential issues such as blown fuses, damaged rectifiers, or faulty power connections. These are often the primary causes of power-related failures.
2. Distorted Audio
For audio distortion, examine the amplifier section of the diagram. Faulty components such as transistors, capacitors, or resistors may disrupt audio clarity. Replacing or repairing these elements can help restore optimal sound quality.
3. Non-Responsive Controls
When the controls fail to work, consult the control panel portion of the diagram. Trace the wiring and connections to identify any broken switches, loose connectors, or damaged circuitry that might be causing the problem.
4. Speaker Malfunctions
If there are issues with the speakers, follow the speaker output pathways shown in the diagram. Loose connections, defective wiring, or damaged speaker components are typical culprits. Ensuring all connections are secure and replacing any damaged parts can resolve these issues.
By utilizing the CR-LA60 Aiwa Electrical Diagram as a guide, you can systematically identify and address problems, ensuring your device continues to perform at its best.
A Comprehensive Guide to Understanding the CR-LA60 Aiwa Electrical Diagram
Navigating the CR-LA60 Aiwa Electrical Diagram can seem daunting at first, but with a step-by-step approach, you can easily understand it. This diagram is typically broken down into clearly defined sections, each representing a different part of the system. Here’s how you can make sense of it:
- Begin with the Key or Legend: To start, locate the diagram’s key or legend. This section will explain the various symbols and abbreviations used throughout the schematic, allowing you to decode the diagram with confidence.
- Familiarize Yourself with the Symbols: Once you understand the key, you can start interpreting the different components. The diagram uses specific symbols for elements like resistors, capacitors, transistors, and other essential parts. Knowing these will help you follow the connections.
- Trace the Power Flow: Start by following the path from the power source. This will show you how electricity flows through the device and which components are powered, providing you with a clear picture of the system’s energy distribution.
- Examine the Component Connections: As you trace the power, take note of how the different components are connected. Understanding these relationships will help you troubleshoot issues, identify potential problems, and even make upgrades more easily.
Optimal Approaches for Using the CR-LA60 Aiwa Diagrama Electrico
When working with the CR-LA60 Aiwa Diagrama Electrico, it’s essential to follow best practices to maximize its effectiveness. Start by handling the diagram carefully—if you’re working with a physical copy, ensure it remains clean and free from damage. For digital versions, make sure the file is accessible and properly organized for easy reference. Taking these precautions will help you avoid errors and ensure you can rely on the diagram throughout your repair or maintenance process.
To make the most of the CR-LA60 Aiwa Electrical Diagram, it’s important to handle and use it thoughtfully. Store the diagram carefully to keep it in good condition. For physical copies, consider using a folder or protective covering to prevent damage. For digital versions, ensure you have backups saved in secure locations to maintain easy access when needed. Before beginning any repair or maintenance work, take time to thoroughly review the diagram.
Understanding the layout and connections in advance will help you approach tasks with greater clarity and efficiency. The diagram can serve as a reliable guide for troubleshooting, allowing you to identify issues, locate faulty components, and perform repairs more effectively. By following these steps, you can confidently use the CR-LA60 Aiwa Electrical Diagram to streamline your maintenance efforts.
Troubleshooting Aiwa Devices Efficiently with the CR-LA60 Aiwa Diagrama Electrico
The CR-LA60 Aiwa Diagrama Electrico is an essential tool for efficiently troubleshooting issues with Aiwa devices. When a problem arises, consulting the diagram is a great starting point. It allows you to pinpoint specific areas of concern in the electrical system, helping you address the issue more effectively.
Troubleshooting Tips:
- Check Power Connections: Begin by verifying the power input and output connections. Ensuring these are intact is crucial before moving on to other components.
- Trace the Power Flow: Follow the flow of electricity throughout the device. This will help you identify if there are any disruptions or issues along the power path.
- Step-by-Step Guidance: Use the diagram to guide your troubleshooting process. By working through the schematic methodically, you can locate and resolve problems more quickly.
CR-LA60 Aiwa Diagrama Electrico is an invaluable resource for anyone working with Aiwa electronics. It provides a clear understanding of the device’s internal wiring and electrical pathways, making it easier to diagnose and resolve issues. By using the diagram, you can effectively troubleshoot common problems, prevent errors during repairs, and restore your Aiwa device to optimal performance. Always ensure the diagram is in good condition and review it thoroughly before beginning any repair work. With this tool in hand, you can confidently address issues and maintain your Aiwa electronics with accuracy and ease.
You May Also Like: 1.9xbuddy
Final Words
The CR-LA60 Aiwa Electrical Diagram is an indispensable tool for anyone maintaining or repairing Aiwa electronics. This detailed schematic provides a clear view of the internal wiring and connections of the CR-LA60 model, enabling users to troubleshoot, repair, and even enhance their devices with confidence. Designed for both beginners and experienced technicians, the diagram simplifies identifying issues such as power failures, distorted audio, or unresponsive controls, ensuring repairs are efficient and accurate.
For beginners, the diagram acts as an educational guide, offering insight into the structure and function of electronic components. For professionals, it saves time by streamlining diagnostics and repairs. From resolving power issues by tracing faulty connections to addressing audio distortions by examining the amplifier section, the diagram provides precise guidance for tackling common problems.
